Install Pomerium Enterprise in Helm
This document covers installing Pomerium Enterprise into your existing Helm-managed Kubernetes cluster. It's designed to work with an existing cluster running Pomerium, as described in Pomerium using Helm. Follow that document before continuing here.
Helm installation is deprecated and is not recommended for new deployments. Please use manifests-based installation that provides a simpler installation experience.
Before You Begin
Pomerium Enterprise requires:
- An accessible RDBMS. We support PostgreSQL 9+.
- A database and user with full permissions for it.
- A certificate management solution. This page will assume a store of certificates using cert-manager as the solution. If you use another certificate solution, adjust the steps accordingly.
- An existing Pomerium installation. If you don't already have open-source Pomerium installed in your cluster, see Pomerium using Helm before you continue.
System Requirements
One of the advantages of a Kubernetes deployment is automatic scaling, but if your database solution is outside of your k8s configuration, refer to the requirements below:
- Each Postgres instance should have at least:
- 4 vCPUs
- 8G RAM
- 20G for data files
Issue a Certificate
This setup assumes an existing certificate solution using cert-manager, as described in Pomerium using Helm. If you already have a different certificate solution, create and implement a certificate for pomerium-console.pomerium.svc.cluster.local. Then you can move on to the next stage.
Create a certificate configuration file for Pomerium Enterprise Our example is named
pomerium-console-certificate.yaml:pomerium-console-certificate.yamlapiVersion: cert-manager.io/v1
kind: Certificate
metadata:
name: pomerium-cert
namespace: pomerium
spec:
secretName: pomerium-tls
issuerRef:
name: pomerium-issuer
kind: Issuer
usages:
- server auth
- client auth
dnsNames:
- pomerium-proxy.pomerium.svc.cluster.local
- pomerium-authorize.pomerium.svc.cluster.local
- pomerium-databroker.pomerium.svc.cluster.local
- pomerium-authenticate.pomerium.svc.cluster.local
- authenticate.localhost.pomerium.io
# TODO - If you're not using the Pomerium Ingress controller, you may want a wildcard entry as well.
#- "*.localhost.pomerium.io" # Quotes are required to escape the wildcard
---Apply the required certificate configurations, and confirm:
kubectl apply -f pomerium-console-certificate.yamlkubectl get certificate
NAME READY SECRET AGE
pomerium-cert True pomerium-tls 92m
pomerium-console-cert True pomerium-console-tls 6s
Update Pomerium
Set your local context to your Pomerium namespace:
kubectl config set-context --current --namespace=pomeriumOpen your pomerium values file. If you followed Pomerium Using Helm, the file is named
pomerium-values.yaml. In theconfigsection, set a list item in theroutesblock for the Enterprise Console:routes:
- from: https://console.localhost.pomerium.com
to: https://pomerium-console.pomerium.svc.cluster.local
policy:
- allow:
or:
- domain:
is: companydomain.com
pass_identity_headers: trueIf you haven't already, set
generateSigningKeyas false, and set a staticsigningKeyvalue to be shared with the Enterprise Console. See Reference: Signing Key for information on generating a key:config:
...
generateSigningKey: false
signingKey: "LR0tMS1BRUdHTiBFQ...."
...If
signingKeywasn't already set, delete the generatedpomerium-signing-keysecret and restart thepomerium-authorizedeployment:kubectl delete secret pomerium-signing-key
kubectl rollout restart deployment pomerium-authorizeUse Helm to update your Pomerium installation:
helm upgrade --install pomerium pomerium/pomerium --values=./pomerium-values.yaml
Install Pomerium Enterprise
Create
pomerium-console-values.yamlas shown below, replacing placeholder values:pomerium-console-values.yamldatabase:
type: pg
username: pomeriumDbUser
password: IAMASTRONGPASSWORDLOOKATME
host: 198.51.100.53
name: pomeriumDbName
sslmode: require
config:
sharedSecret: #Shared with Pomerium
databaseEncryptionKey: #Generate from "head -c32 /dev/urandom | base64"
administrators: 'youruser@yourcompany.com' #This is a hard-coded access, remove once setup is complete
signingKey: 'ZZZZZZZ' #This base64-encoded key is shared with open-source Pomerium
audience: console.localhost.pomerium.com # This should match the "from" value in your Pomerium route, excluding protocol.
licenseKey: 'XXXYYYYZZZZ' # This should be provided by your account team.
tls:
existingCASecret: pomerium-tls
caSecretKey: ca.crt
existingSecret: pomerium-console-tls
generate: false
image:
pullUsername: pomerium/enterprise
pullPassword: your-access-key
serviceMonitor:
enabled: true
metrics:
enabled: true
The Pomerium repository should already be in your Helm configuration per Pomerium using Helm. If not, add it now:
helm repo add pomerium https://helm.pomerium.io
helm repo update
Install Pomerium Enterprise:
helm install pomerium-console pomerium/pomerium-console --values=pomerium-console-values.yamlIf you haven't configured a public DNS record for your Pomerium domain space, you can use
kubectlto generate a local proxy:sudo -E kubectl --namespace pomerium port-forward service/pomerium-proxy 443:443When visiting
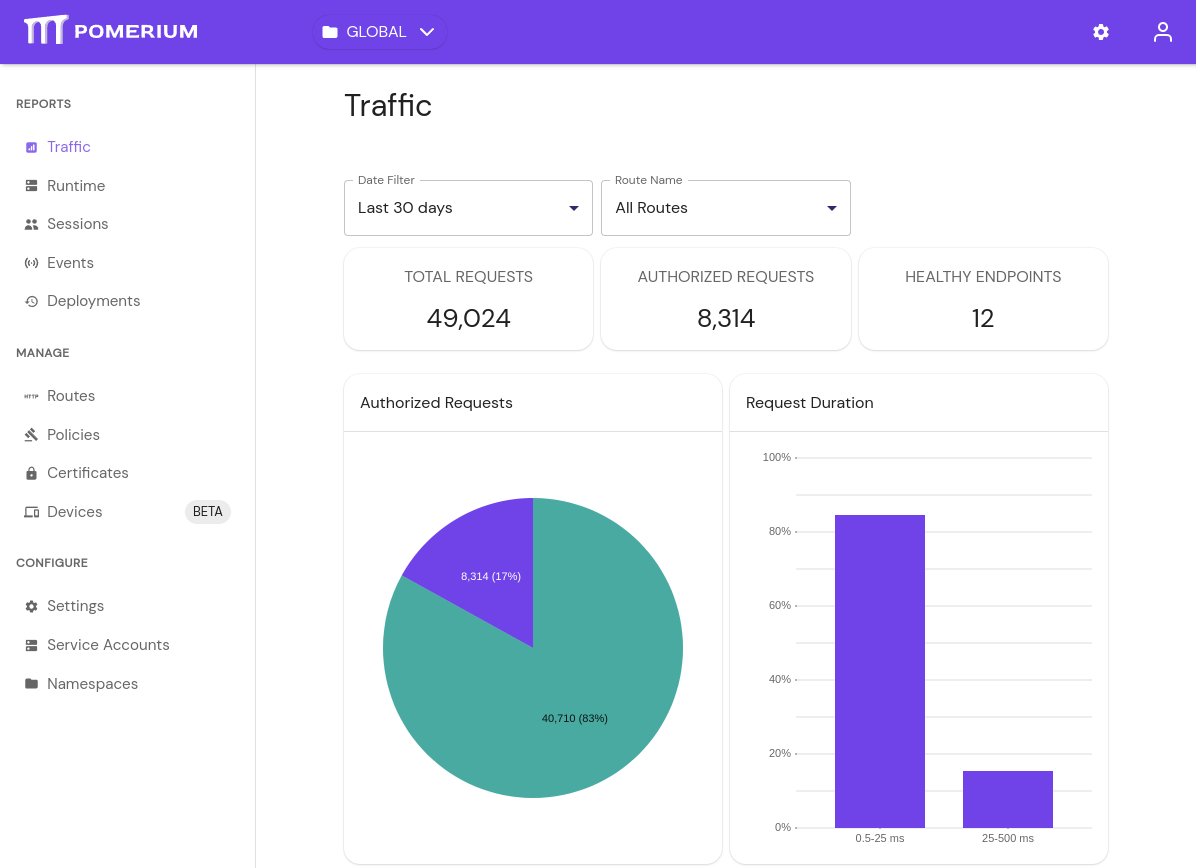
https://console.localhost.pomerium.io, you should see the Traffic:
Troubleshooting
Updating Service Types:
If, while updating the open-source Pomerium values, you change any block's service.type you may need to manually delete corresponding service before applying the new configuration. For example:
kubectl delete svc pomerium-proxy
Generate Recovery Token
In the event that you lose access to the console via delegated access (the policy defined in Pomerium), there exists a fallback procedure to regain access to the console via a generated recovery token.
To generate a token, run the pomerium-console generate-recovery token command with the following flags:
| Flag | Description |
|---|---|
--database-encryption-key | base64-encoded encryption key for encrypting sensitive data in the database. |
--database-url | The database to connect to (default "postgresql://pomerium:pomerium@localhost:5432/dashboard?sslmode=disable"). |
--namespace | The namespace to use (default "9d8dbd2c-8cce-4e66-9c1f-c490b4a07243" for Global). |
--out | Where to save the JWT. If not specified, it will be printed to stdout. |
--ttl | The amount of time before the recovery token expires. Requires a unit (example: 30s, 5m). |
You can run the pomerium-console binary from any device with access to the database.